Openers · Midland
Photo-Eye Sensor Alignment or Replacement in Midland
There are no sensors at the floor at all, or a previous owner has wired the pair together up beside the motor so the beam never crosses the doorway. A home inspector has just pointed it out.
Photo-Eye Sensor Alignment or Replacement
In plain words
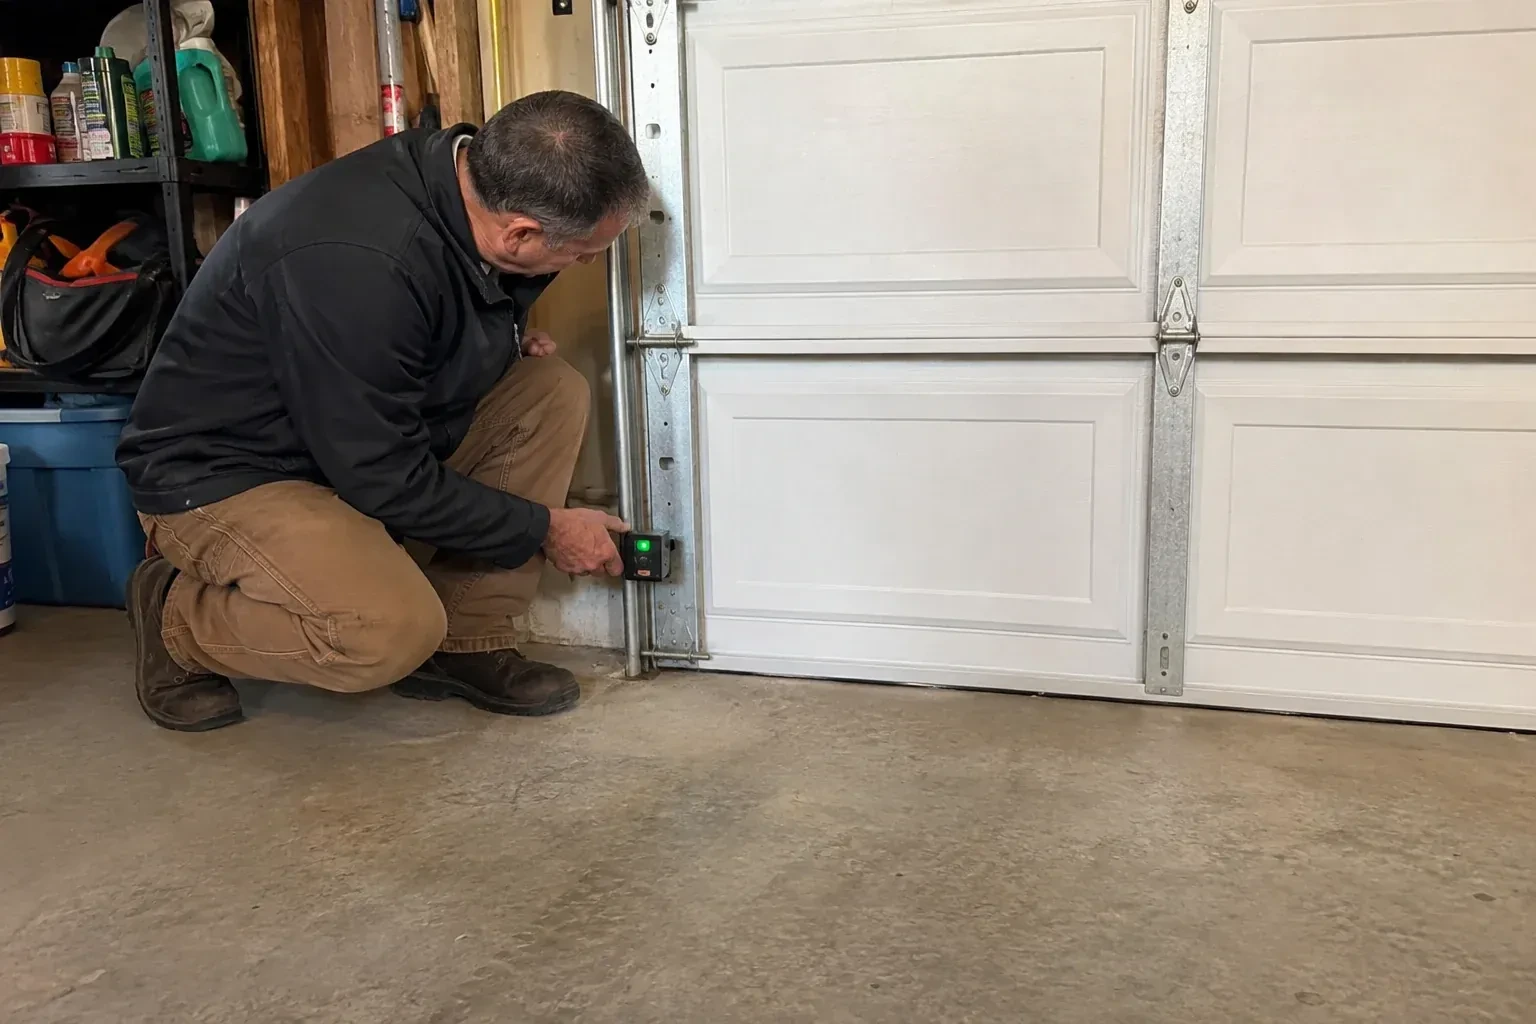
Your opener has been trying to tell you what is wrong. The head unit flashes its light a set number of times, or blinks a pattern on its up and down arrows, and each pattern maps to a cause on the maker's chart: beam blocked or misaligned, wire cut or disconnected, wires reversed or shorted. Down at the floor, many sensor pairs carry an indicator on each side, though some older pairs light only the receiver; check that model's chart, since a receiving light going out or flickering usually points to alignment. The technician reads both sets of signals first, which is why the repair usually takes one visit.
How the visit goesAfter a cold night the door stays open until the garage warms up. There is frost on the sensor lenses and a ridge of salty slush piled against the brackets where the snow blower was parked.
Midland
How the visit goes
Starting with the story
The first minutes are spent listening. What does the door do when close is pressed: drop and bounce, stay put, or close only while the wall button is held? Does the opener light blink, and how many times? When did it start, and what changed around then: a car bumped the track, a storm, shelving went up, the garage was reorganised, the first frost arrived? Does it happen at all hours or only on bright mornings? Those answers usually point at one of a handful of causes before a single tool comes out, and they decide whether the technician heads for the brackets, the wire or the head unit first.
Resetting the alignment
Alignment is done with the door open and the lights in view. The technician sets both sensors to the same measured height, loosens the wing nut on the receiving side, and turns the sensor a fraction at a time until its indicator changes from dark or flickering to steady. The nut is tightened while the light is watched, because a sensor can drift as the fastener bites, and the sending side is treated the same way. Brackets are checked for play and the wire is re-clipped so it cannot tug the sensor out of line. A steady light on both sides, held through a few door cycles, is the standard.
Keeping the brackets out of harm's way
Most repeat sensor calls come from the same few habits, and they are easy to change. Keep recycling bins, bicycles, boots and the snow shovel away from the bottom of the door track on both sides. Park with a little room to spare so a bumper never meets a bracket. When you sweep or blow snow out of the garage, aim away from the sensors rather than at them. If shelving or a workbench goes in along that wall, leave the strip near the floor free. The brackets are sturdy, but they hold a precise line, and a nudge that would not bother anything else is enough to lose the beam.
Photo-Eye Sensor Alignment or Replacement
In the van
- Track-mount sensor brackets
- Protective wire channel
- Wire connectors
- Matched photo-eye sensor pair
- Receiving-eye sun shade
What affects the quote
Same fees day, night or weekend
1Wall or floor mounting with anchors
Mounting into concrete or masonry rather than onto the track means drilling, anchors and sealing against water, which takes more time than clipping to the rail.
2Door-side findings
A balance problem, a stiff roller or a bottom seal that needs replacing sometimes shows up during testing. Those belong to their own service and are noted and quoted separately rather than hidden in the sensor work.
3Protecting exposed wire
On a wall where the wire runs in the open, a slim protective channel or a re-route higher along the wall keeps bins, bikes and mice away from it, and is quoted as its own line.
Photo-Eye Sensor Alignment or Replacement: questions
Could the wiring be the problem rather than the sensors?
Frequently. The sensors are fed by a thin two-conductor wire from the head unit that crosses the ceiling and drops down both sides of the door, and it is pierced by staples, cut by shelving screws, chewed by mice or pulled from its terminals more often than a sensor fails. Both sensor lights dark, or an opener code for an open or reversed circuit, points to the wire. The technician tests the run with a meter and repairs or replaces the damaged section.
How high off the floor should the sensors sit?
Low. The industry checklist expects the beam no more than roughly 15 cm (6 in) up from the floor, so that a small child, a pet or a bicycle wheel breaks it. Both sensors are set at the same measured height and level with each other, since a difference of a couple of centimetres is enough to lose the beam. Within that rule the technician can raise them a little to keep them out of the strip where slush collects.
How do I test the sensors each month?
Start the door closing and, while it is moving, swing a broom handle through the beam low across the opening; the door should halt and travel back up. Next, put a 2x4 flat beneath the door's centre and run the door onto it; it should back off as soon as it touches. If either test fails, close the door first if you can, use it by hand with the manual release, and book a visit; do not release it if it feels heavy.
Openers & Access
- Chain-Drive Opener RepairThe chain hangs in a loop under the rail and slaps against it on every cycle.
- Belt-Drive Opener RepairAfter the power came back you pulled the red cord to get the car out.
- Garage Door Opener ReplacementThe bedroom above the garage shakes every morning at six when the chain drive fires up.
Photo-Eye Sensor Alignment or Replacement near you
A garage door in Midland rarely fails all at once. It gets louder, slower or less even first. Our services are arranged so you can act at any point: a tune-up while it is still working, a repair when something lets go, or a replacement when the door has earned its retirement.
- Wasaga Beach
- Clearview
- Penetanguishene
- Creemore
- Stayner
- Brocks Beach
- New Wasaga Beach
- Oakview Beach
- Oxbow Park
- Firth's Corners
- Portage Park
- Sunnyside
- Dunedin
- Glen Huron
- Singhampton
- Balm Beach
- Coutnac Beach
- Edmore Beach
- Georgian Heights
- Kettle's Beach
- Marygrove
- Ossossane Beach
- Perkinsfield
- Sawlog Bay
- Wahnekewaning Beach
- Woodland Beach