Openers · Wasaga Beach
Photo-Eye Sensor Alignment or Replacement
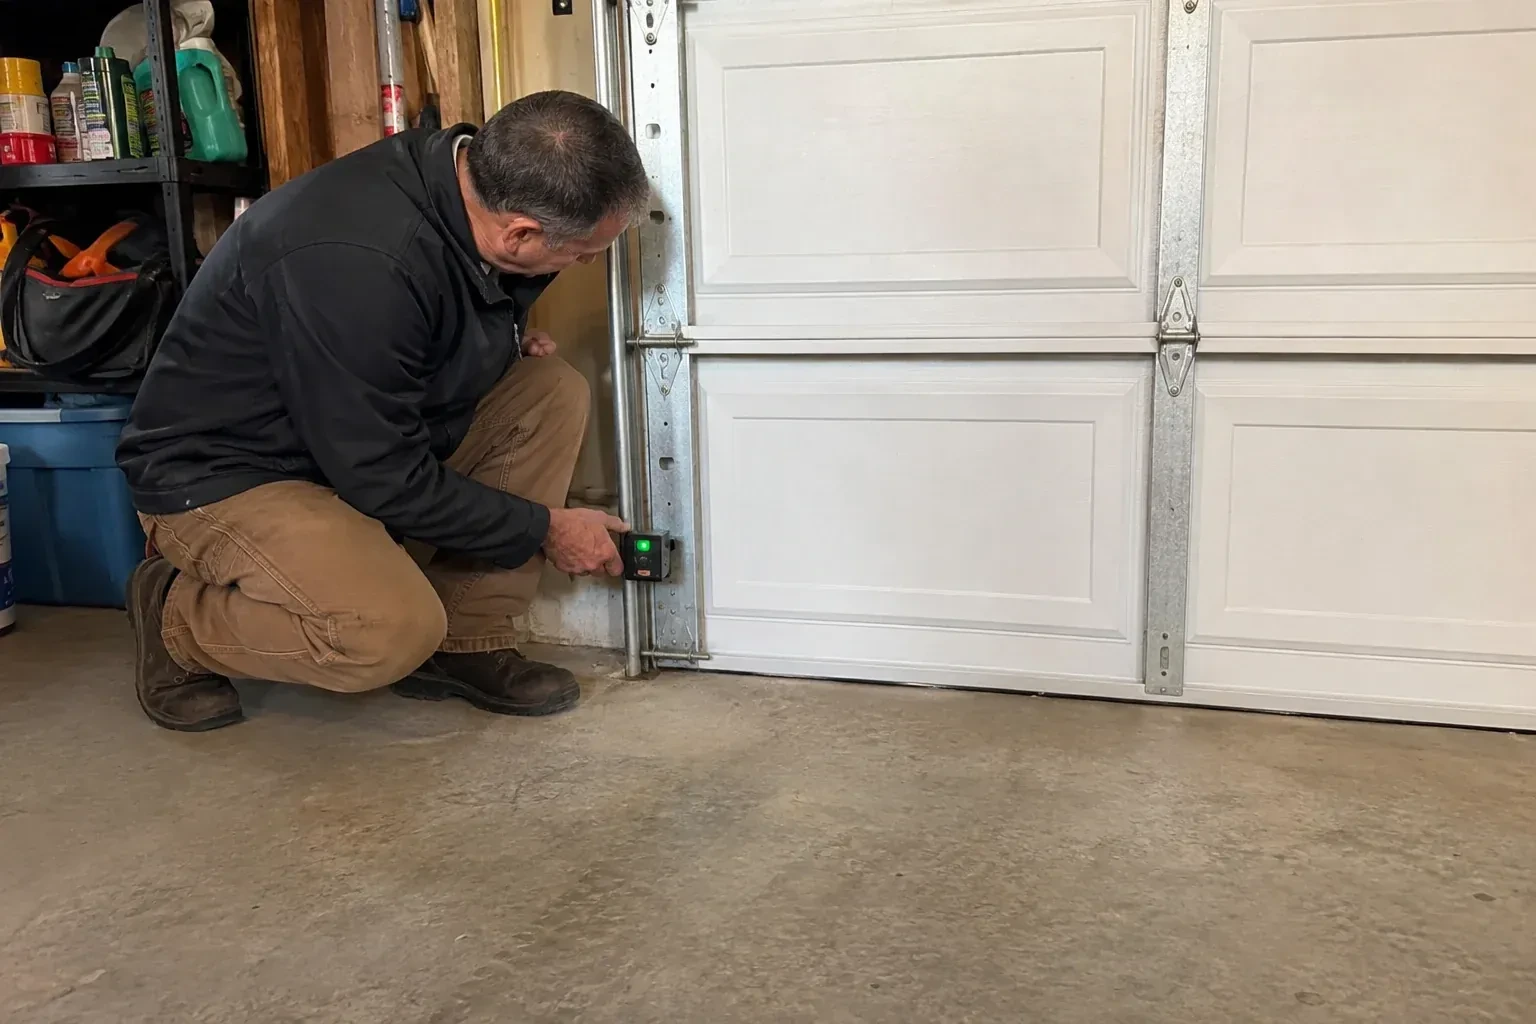
There are no sensors at the floor at all, or a previous owner has wired the pair together up beside the motor so the beam never crosses the doorway. A home inspector has just pointed it out.
Photo-Eye Sensor Alignment or Replacement
In plain words
By the end of the visit you have a door that closes from every control and reverses the instant the beam is broken, a sensor pair mounted level at the right height with steady indicator lights, wiring that is secured and out of harm's way, and a written note of what was found and what was changed. The technician walks you through the two tests you can repeat monthly, points out which light is which, and leaves the opener's diagnostic chart where you can find it. It is a small job that puts a large piece of your door's protection back in service.
How the visit goesSomeone backed the car in a little too far, a bin or a bicycle brushed the track, and since then the door starts to close and comes back up. One sensor now sits at a slightly different angle from the other.
Wasaga Beach
How the visit goes
Making sure it is the sensors and not the door
A door that reverses on the way down has two possible reasons, and only one of them lives at the floor. If the door touches something, including a bottom seal frozen to the slab, a travel limit set slightly long or a stiff door in cold weather, the force setting sends it back up. That looks like a sensor fault from the driveway but calls for a different fix. The technician checks whether the door reverses before it moves or after it meets resistance, watches the sensor lights during the cycle, and tries the door with the beam deliberately shaded. The answer decides whether the work stays with the sensors or moves to the settings.
Cleaning and protecting the lenses
Lenses are wiped with a soft cloth and a mild cleaner, never scraped, and the housings are checked for cracks that let in water. Sensors that have been sitting in the strip where slush and salt collect are raised within the permitted height range and their brackets sealed. On a wall where the wire runs exposed, a slim protective channel keeps it clear of bins and bikes. Where mice have been at the wire, the new run is routed higher along the wall and dropped straight down to each sensor. These small measures are what keep a repair from repeating the following winter.
Wiring that stays put
The wire between the head unit and the sensors has been secured along the ceiling and walls, clipped clear of the track and, where it was exposed, run inside a protective channel. Two things keep it that way. First, when anything is fastened to those walls or that ceiling, from shelving to a bike hook to drywall, look for the thin wire before driving a screw or a staple. Second, if mice have been in the garage, a chewed wire is a common sign, so a dark sensor light after a sighting is worth a look at the run. Either way, the sensor lights will tell you the moment the circuit is open.
Photo-Eye Sensor Alignment or Replacement
In the van
- Track-mount sensor brackets
- Protective wire channel
- Wire connectors
- Matched photo-eye sensor pair
- Receiving-eye sun shade
What affects the quote
Same fees day, night or weekend
1Wall or floor mounting with anchors
Mounting into concrete or masonry rather than onto the track means drilling, anchors and sealing against water, which takes more time than clipping to the rail.
2Protecting exposed wire
On a wall where the wire runs in the open, a slim protective channel or a re-route higher along the wall keeps bins, bikes and mice away from it, and is quoted as its own line.
3Number of doors
Each opener has its own sensor pair and wire run, so a double garage with two doors is two sets of checks, two possible pairs and two rounds of testing, quoted per door.
Photo-Eye Sensor Alignment or Replacement: questions
Could the wiring be the problem rather than the sensors?
Frequently. The sensors are fed by a thin two-conductor wire from the head unit that crosses the ceiling and drops down both sides of the door, and it is pierced by staples, cut by shelving screws, chewed by mice or pulled from its terminals more often than a sensor fails. Both sensor lights dark, or an opener code for an open or reversed circuit, points to the wire. The technician tests the run with a meter and repairs or replaces the damaged section.
How high off the floor should the sensors sit?
Low. The industry checklist expects the beam no more than roughly 15 cm (6 in) up from the floor, so that a small child, a pet or a bicycle wheel breaks it. Both sensors are set at the same measured height and level with each other, since a difference of a couple of centimetres is enough to lose the beam. Within that rule the technician can raise them a little to keep them out of the strip where slush collects.
How do I test the sensors each month?
Start the door closing and, while it is moving, swing a broom handle through the beam low across the opening; the door should halt and travel back up. Next, put a 2x4 flat beneath the door's centre and run the door onto it; it should back off as soon as it touches. If either test fails, close the door first if you can, use it by hand with the manual release, and book a visit; do not release it if it feels heavy.
Openers & Access
- Chain-Drive Opener RepairThe chain hangs in a loop under the rail and slaps against it on every cycle.
- Belt-Drive Opener RepairAfter the power came back you pulled the red cord to get the car out.
- Garage Door Opener ReplacementThe bedroom above the garage shakes every morning at six when the chain drive fires up.
Photo-Eye Sensor Alignment or Replacement near you
Most calls from Wasaga Beach start with a symptom rather than a part name: a bang, a door stuck halfway, a remote that only works from the driveway. Below are the services behind those symptoms, from spring and cable replacement to opener repair, panel work and complete door installation.
- Wasaga Beach
- Clearview
- Midland
- Penetanguishene
- Creemore
- Stayner
- Brocks Beach
- New Wasaga Beach
- Oakview Beach
- Oxbow Park
- Firth's Corners
- Portage Park
- Sunnyside
- Dunedin
- Glen Huron
- Singhampton
- Balm Beach
- Coutnac Beach
- Edmore Beach
- Georgian Heights
- Kettle's Beach
- Marygrove
- Ossossane Beach
- Perkinsfield
- Sawlog Bay
- Wahnekewaning Beach
- Woodland Beach